Owner Onboarding Guide: Set up your organization
When you sign up in any CAKE.com app for the first time, an organization is created with you as the Organization owner. As the Organization owner, you have the highest level of permission to manage the workspaces, users, and subscriptions for the entire suite.
Step 1: Set up the organization #
The organization is the main space that contains all CAKE.com Suite workspaces. Here are things you can do when logged in the CAKE.com homepage:
- Define organization name: Open the
 Organization page and change the organization name if you want it to be different from the workspace name.
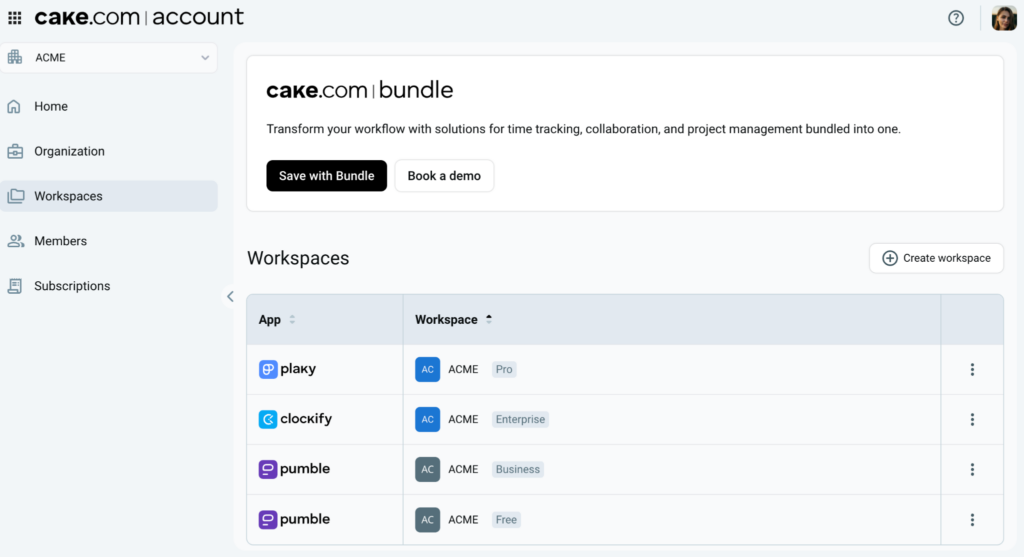
 - Create product workspaces: Open the
 Workspaces page and create a workspace for each CAKE.com app that you need for your organization.
Step 2: Configure the workspace #
Use the  switcher to launch Clockify, Plaky, or Pumble and access the workspace. Each app has its own settings menu that you can configure to ensure a smooth workflow between workspaces for your team members.
- Clockify: Create clients and projects, and set up rates to manage productivity and monitor profitability
- Pumble: Create channels to communicate with your team
- Plaky: Create spaces and boards to manage your projects and tasks
For example, you can create a Marketing board in Plaky with a corresponding Marketing project in Clockify and a Marketing channel in Pumble.
Access to product features will vary depending on your subscription plan.
Step 3: Invite team members #
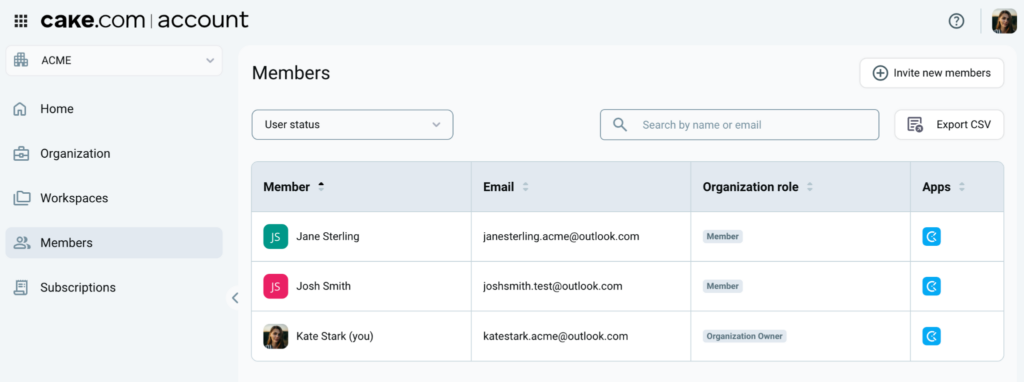
Once you sign up in CAKE.com, you will be prompted to create a workspace on the CAKE.com app you choose. Navigate to the  Members page and you will see the
  Invite members button. Check this guide on how to invite members to your organization.
Another way is to invite team members from each of the product workspace:
- Clockify: Open the Team page to add a full member. On a Free plan, you can only have up to 5 members, including the Organization owner.
- Pumble: Open the three-dot icon next to the workspace name to access the Invite people page and invite a member.
- Plaky: Open the three-dot icon next to the workspace name to access the Teams page and invite a member.
If you are on a paid plan, you will be prompted to purchase additional seats if you don’t have enough seats available in your account. If you are choosing the right subscription plan for your organization, you can subscribe to the CAKE.com Bundle where one bundle seat allows access to Enterprise features available in all CAKE.com apps.
Step 4: Set up workspace administration and subscriptions #
Establish your organization’s structural hierarchy and subscription plan.
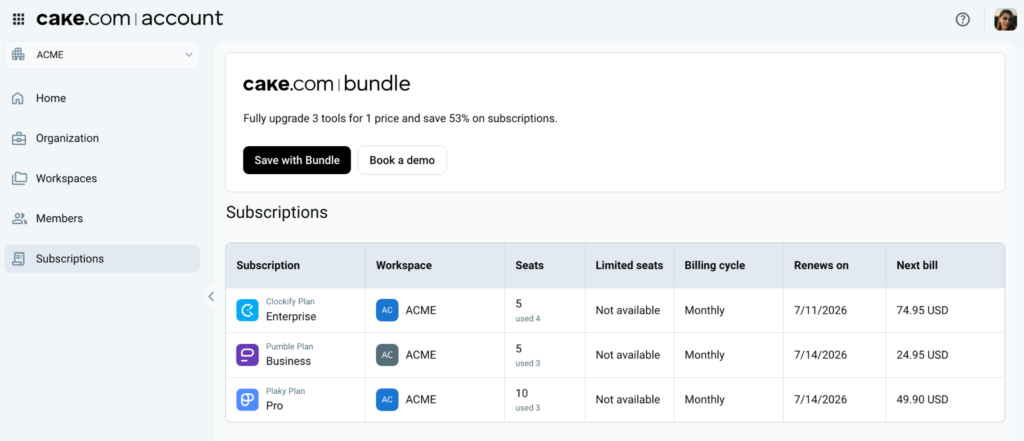
- Purchase and review subscription: Check if your current plan fits your needs or if you need to upgrade. You can view your current plan in the
 Subscriptions page in the CAKE.com homepage.
- Assign roles: Designate Workspace admins for each product workspace to manage workspace operations and monitoring. App-specific roles are also available depending on the product you are working with.
- Single Sign-On (SSO): If you are subscribed to Enterprise or CAKE.com Bundle plan, you can configure SSO to allow your team to log in using their company credentials.
Check out the CAKE.com Glossary to be familiar with terms and concepts used in the suite.