Manage workspace
Workspace management in the CAKE.com Suite simplifies the task of overseeing all workspaces within an organization. Here is a break down of all the functionalities available to different user roles:
- Organization owner
Owners have top-level permissions and can oversee all workspaces and create new ones within an organization. - Workspace admin
Admins can manage specific workspaces (Clockify, Pumble or Plaky) where they have admin roles. They can also create additional workspaces on products within the organization. - Member
Members have access to the workspaces they’re part of and can deactivate themselves if needed.
Features overview #
| User role | Functionality |
|---|---|
| Owner | View all organization workspaces with detailed info |
| View, edit, manage subscriptions, transfer, delete, and create workspaces | |
| Workspace admin | Manage specific workspaces where they hold administrative roles |
| View, deactivate themselves (if members of workspaces) Edit, manage subscriptions (if workspace admins) | |
| Create new workspaces and explore new products | |
| Member | View and access the workspaces they’re members of |
| Basic options to view their workspace and deactivate themselves |
For more information on user roles and access permissions, check out Roles and permissions.
Create new workspace #
If you’re managing multidisciplinary work across multiple teams, using separate workspaces can help you organize projects, teams, and resources more effectively.
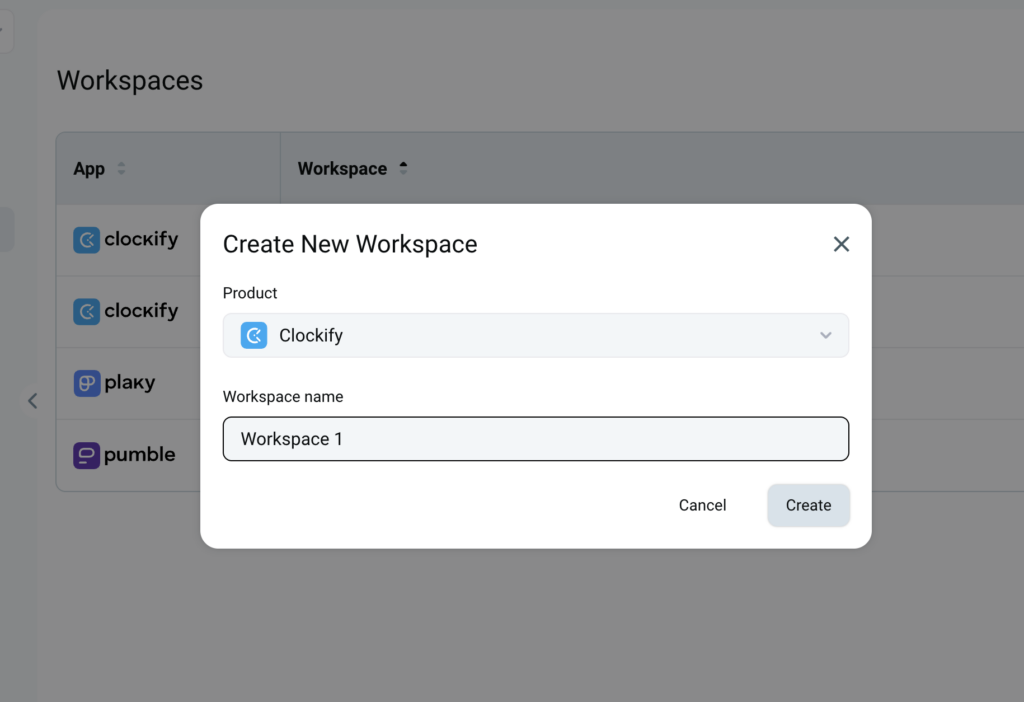
To create a new workspace inside your organization, follow these steps:
- Navigate to Workspaces from the left sidebar
- Click on + Create workspace in the top right corner
- Select the product from the dropdown
- Enter workspace name
- Click Create to complete the action
As a result, your workspace will appear in the list of workspaces created in the organization. At this point, you have the option to invite existing members or skip the invitation for another time. Check out this guide to know more about inviting existing members when creating a workspace.
You can also create a workspace directly from the registration page.
Change workspace image & name #
To rename a workspace or change its image:
- Navigate to Workspaces from the left sidebar
- Click on three dots next to the workspace you want to rename
- Select Edit name and image
- Enter new workspace name
Or
- Click on an image to upload new image
- Click Save changes to complete the action
The changes will be immediately visible.
Delete workspace #
As an Organization owner you can manage workspaces that are a part of that organization and delete them when necessary. Check out this article for detailed information on how to delete a workspace.